Bottling Day
After the beer has undergone the fermentation process, it is now the time to bottle it. I will expand below.
- Sanitise everything required for bottling.
- Prepare the recommended amount of sugar with enough hot water to dissolve it. Add the mixture to the pot.
- Transfer the beer from the carboy to the bottling pot. Consider filtering during this step.
- Bottle, by transferring from the pot.
- Conduct bottle conditioning for the recommended duration. You can sample early, but you might be disappointed. You have been warned.
- Enjoy, after refrigeration.
Step 1 – Sanitise
From the multiple articles I have read, plus the podcasts I have listened to, and the general advice from others, sanitising is quite possibly the most important part of the brewing process. If bacteria gets into the wort, carboy or bottle, you risk ruining your beer. Soap and water are the standard way to clean most things. For the bottles and carboy, a food safe sanitising agent is recommended. You can use household bleach, just be sure to rinse really well, it is not food nor human safe (I did my own research). Scalding the glass carboy and bottles with hot water is also useful. I scalded the plastic bottles with hot water, some of them warped. Oops. Be careful with that.
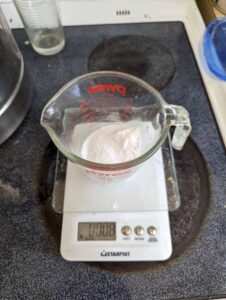
Step 2 – Prepare the Sugar
I normally use corn sugar for this step. You can use regular white table sugar, honey and other types of sugar sources. The measurements will vary by product and by beer style.
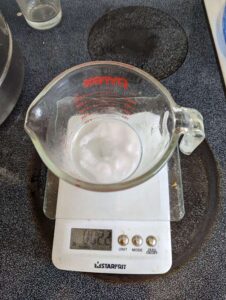
Step 3 – Transfer
Using good old gravity and a siphon, transfer the beer from the carboy to the bottling pot. Through time and experimentation, I changed from a straight transfer to doing some filtering in-between. What a surprise, significantly less sediment in the beer. Some people may like the dargnarbles, but many won’t. My rudimentary filter technique currently involves putting a regular coffee filter into a mesh bag, and adding this double filter into a fine mesh strainer.
![]()
Step 4 – Bottle
Once again, using old fashioned gravity and a siphon, transfer the beer+sugar mixture from the pot to the bottles. This step usually involves dripping beer all over the place, make sure you have a dish rag and a towel handy. The knack of the perfect fill still eludes me. From doing my own research, an under-filled bottle is less desirable than a properly filled one.
![]()
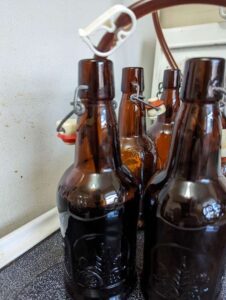
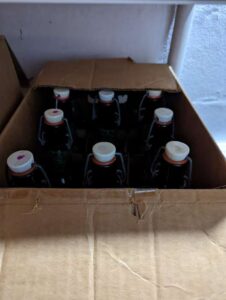
Step 5 – Bottle Conditioning
All the effort to date will pay off with some more patience. Each beer, style, whatever will have a different duration for the beer to sit on the shelf to age. Ideally in a cool dark location. For most of the ales I have done, 4 weeks is the recommended minimum. For the stouts, 6 weeks is a good guideline. Be sure to follow the duration recommended by the recipe. From my casual reading, the newly introduced sugar during this phase can add about 0.2% ABV. You can consume the beer early, but you might be disappointed. You have been warned.
This part reminds me of the story telling from my Cub days. Akela would tell a story the farm animals and the impetuous donkey, usually before a meal, that would go on seemingly forever, interspersed with the catch phrase “patience, jackass, patience”. When a hungry Cub would interrupt, and ask, “when are you going to be done? When are we going to eat?” Akela would simply answer, “patience, jackass, patience”.
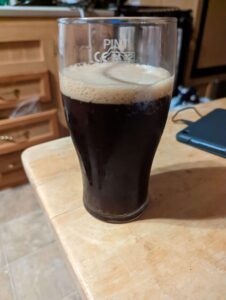
Step 6 – Enjoy, responsibly
Ideally, keep the bottles stored upright, despite the efforts in filtration, some sediment will makes it’s way into the bottle. I doesn’t taste good. When you think you want to drink it, put a bottle or two or six into the refrigerator, and serve chilled. You likely don’t want to drink this straight from the bottle, CF statement about the sediment. Carefully and slowly dispense the beer from the bottle into your favourite beer glass, be sure to stop before any sediment trickles into your glass. Cheers.
 To provide the best experiences, we use technologies like cookies to store and/or access device information. Consenting to these technologies will allow us to process data such as browsing behaviour or unique IDs on this site. Not consenting or withdrawing consent, may adversely affect certain features and functions.